
Start with the part you actually want to show
Before you measure anything, decide what area of the artwork must be visible in the finished frame. For prints, photos and certificates, that is often the full sheet. For drawings, watercolours or works with rough edges, you may want to show only the image area and hide the outer edge under a mount. If the piece has deckled edges, torn margins or handwritten notes, decide that first so your measurements match the final look.
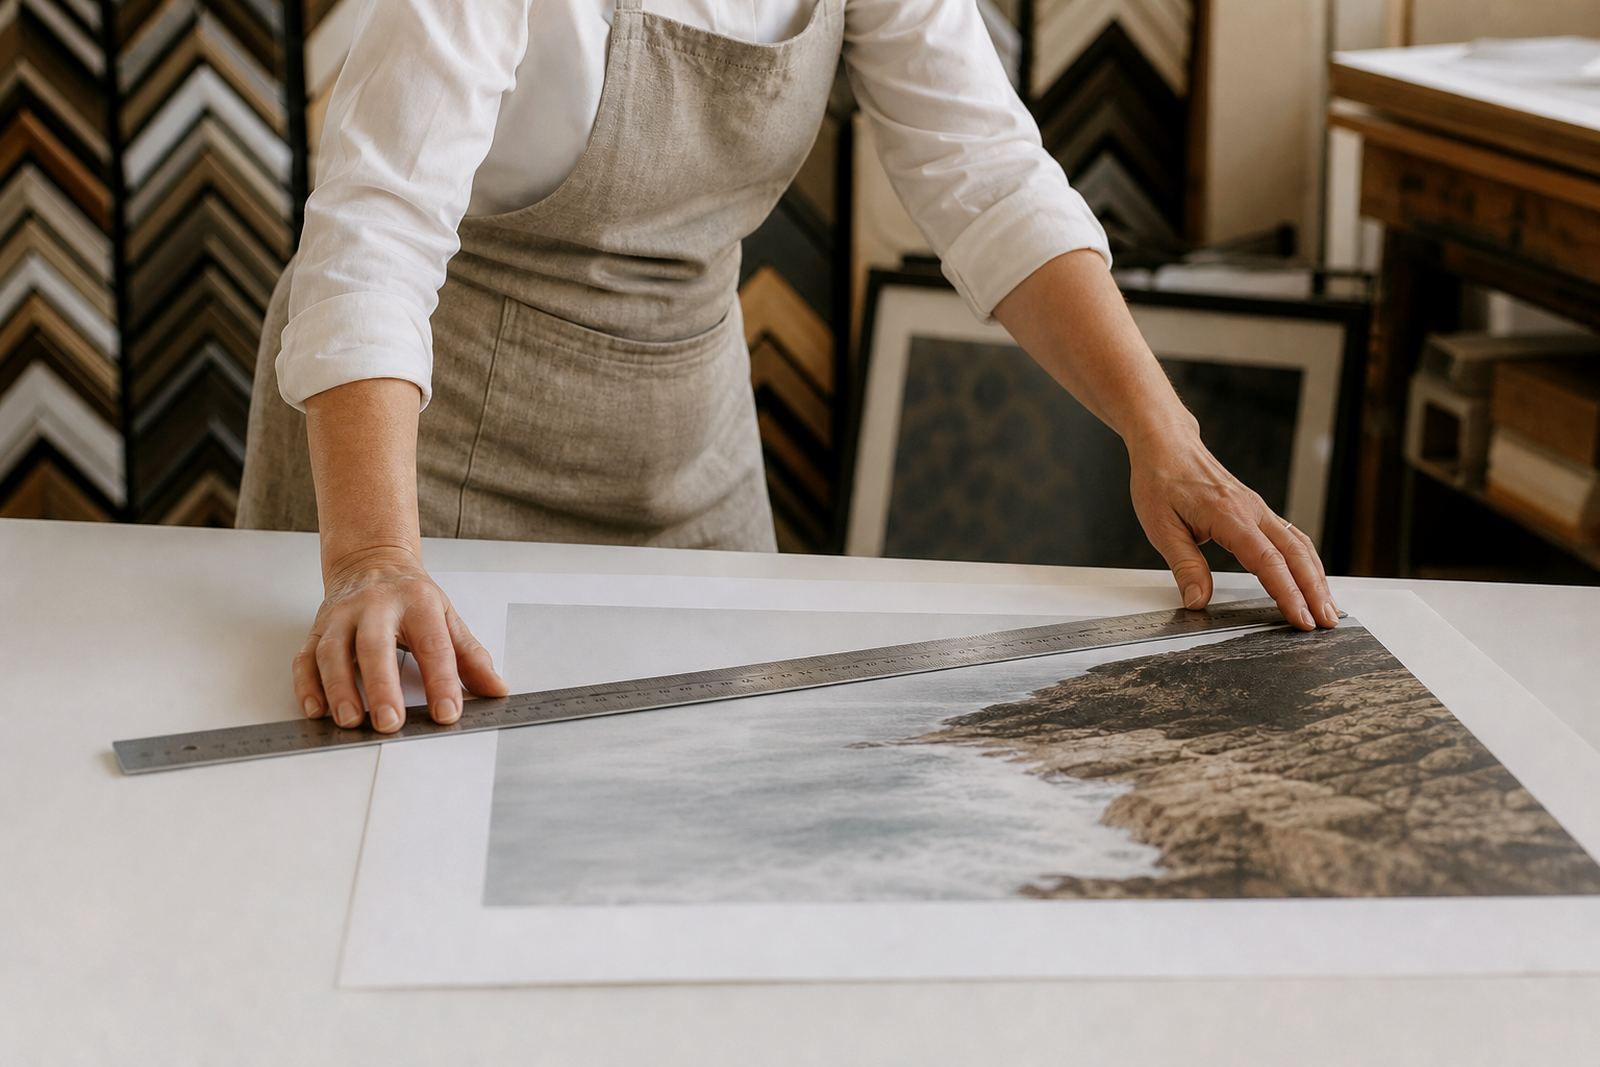
Lay the artwork flat on a clean table and use a steel tape measure or ruler with clear millimetre markings. Measure in millimetres where you can, because small differences matter when the frame opening is tight. If the item has a border you want kept visible, include it in your measurement. If you are framing a poster or photograph with no border, measure the exact image size.
- Measure the visible image area only if the edges will be hidden.
- Measure the full sheet if every edge must stay on view.
- Write down width first, then height, and note the unit used.
- Take the measurement twice to confirm the numbers match.
Check width, height and thickness before choosing the frame
Most people think only about width and height, but thickness matters too. A stretched canvas, mounted photograph or layered collage needs enough depth inside the frame rebate. If the frame is too shallow, the glazing can press on the artwork or the back may not close properly. In hot Johannesburg conditions or coastal humidity in Durban and Cape Town, a tight fit can also make the piece harder to service later.
Measure the widest point and the tallest point, including any uneven edges. If the artwork is not perfectly square, use the largest dimensions and allow for slight trimming or mounting adjustments. For canvas stretching, measure the full canvas size, not the painted image. For items with raised details, such as textured paper or stitched elements, mention the thickness so the right frame profile can be chosen.
- Width and height are the starting point.
- Thickness helps determine frame depth and spacer needs.
- Uneven edges should be measured at the widest points.
- Keep notes if the piece curls, bows or has a damaged corner.
Allow border space for a mount or float finish
If you want a mount around the artwork, the frame size is not the same as the artwork size. The mount creates a border between the image and the frame, and that border changes the opening. A standard mount can make a small print look cleaner and give the piece breathing room, especially in galleries or in homes with busy wall colours. For a float mount, the visible gap around the artwork must be planned carefully so the edges sit evenly.
As a general guide, the frame opening is usually larger than the artwork by the mount border on each side. If you want a 50 mm border all round, the opening will be 100 mm wider and 100 mm taller than the artwork. If the design includes a wider lower border, measure that separately. It helps to sketch the layout on paper before you order, so the final proportions are easy to explain.
- Mount borders add to the final frame opening.
- Float mounting shows the edge and needs careful spacing.
- Uneven borders should be noted in millimetres.
- Sketching the layout helps avoid confusion later.
Measure awkward pieces without damaging them
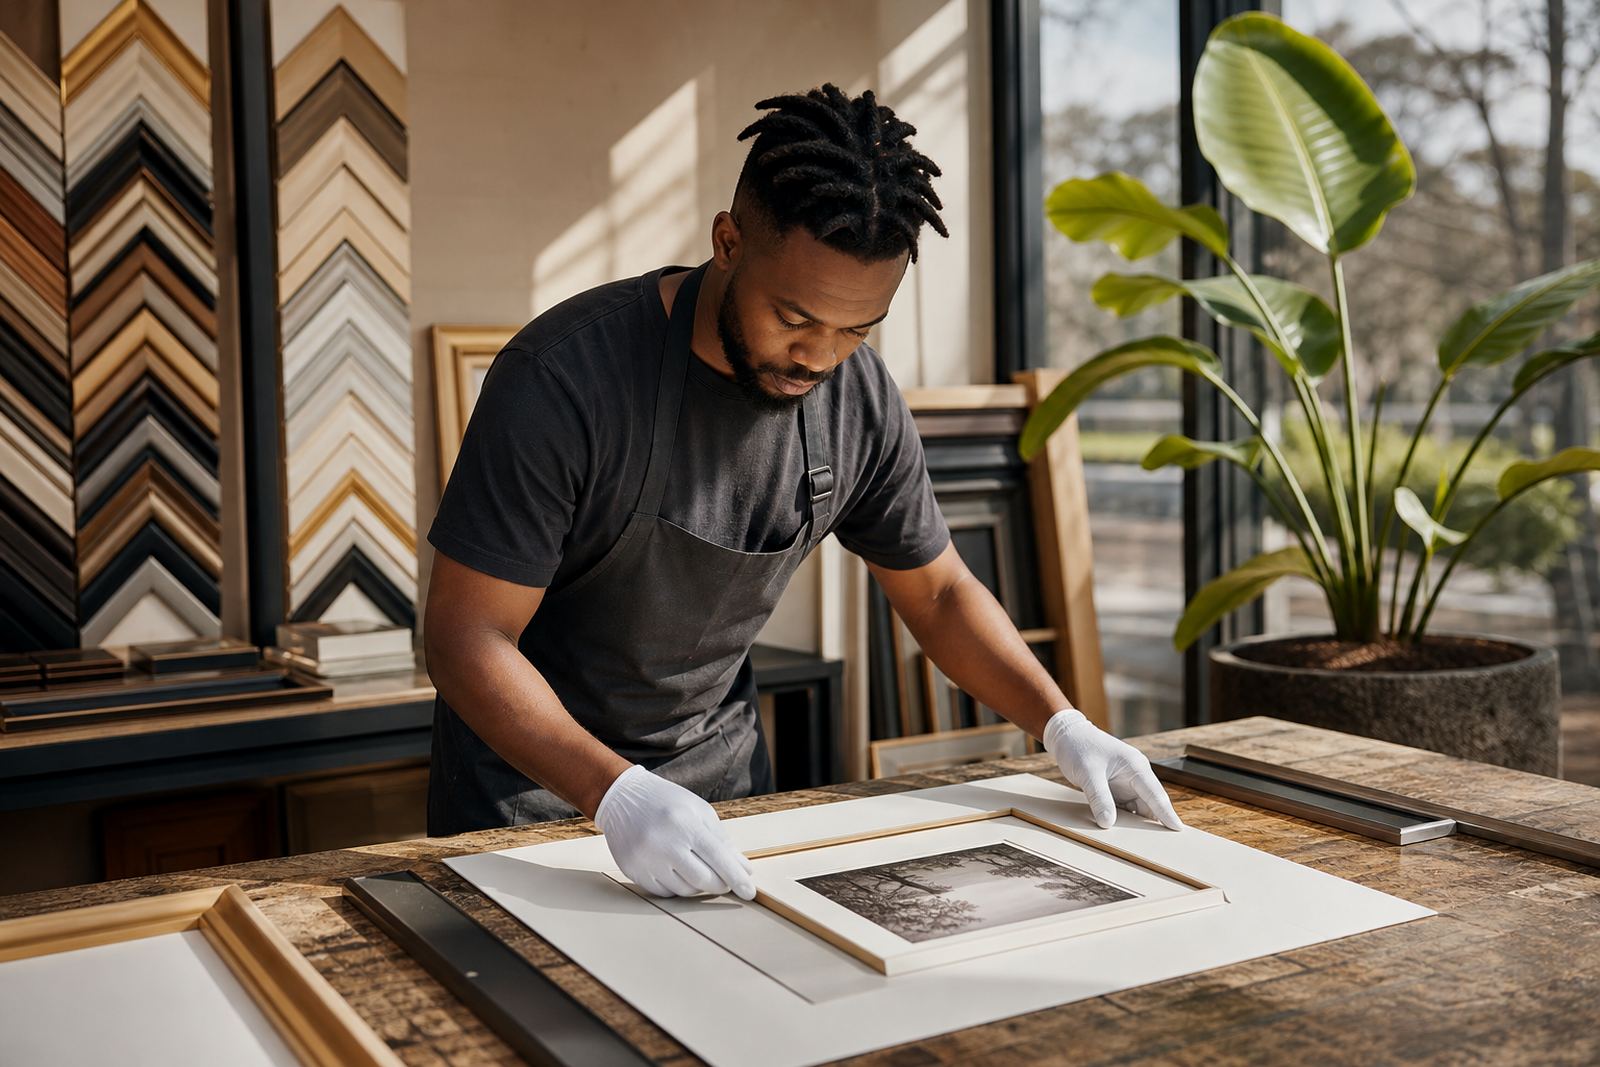
Framing is not limited to flat prints. Jerseys, medals, certificates with seals, mirrors, stretched fabric and mixed media all need a slightly different approach. Never press hard on fragile paper, brittle corners or old photographs. If the item is valuable, use a flat surface and handle it with clean hands or cotton gloves. For curved or fragile items, measure the overall size without flattening it too much.
When measuring round or irregular items, take the longest width and the longest height across the outside edges. For a mirror, measure the glass only if the backing is already sorted, and note whether you need safety backing for a home, office or public space. If the object has attachments such as pins, clips or medals, include the full protruding depth so there is enough room inside the frame. This saves a second trip and avoids forcing the piece into a size that is too tight.
- Use the longest points for irregular shapes.
- Do not flatten fragile pieces just to get a number.
- Include pins, clips, medals and other raised details.
- Note if the item needs safety backing or spacer depth.
Write down the numbers in a way the framer can use
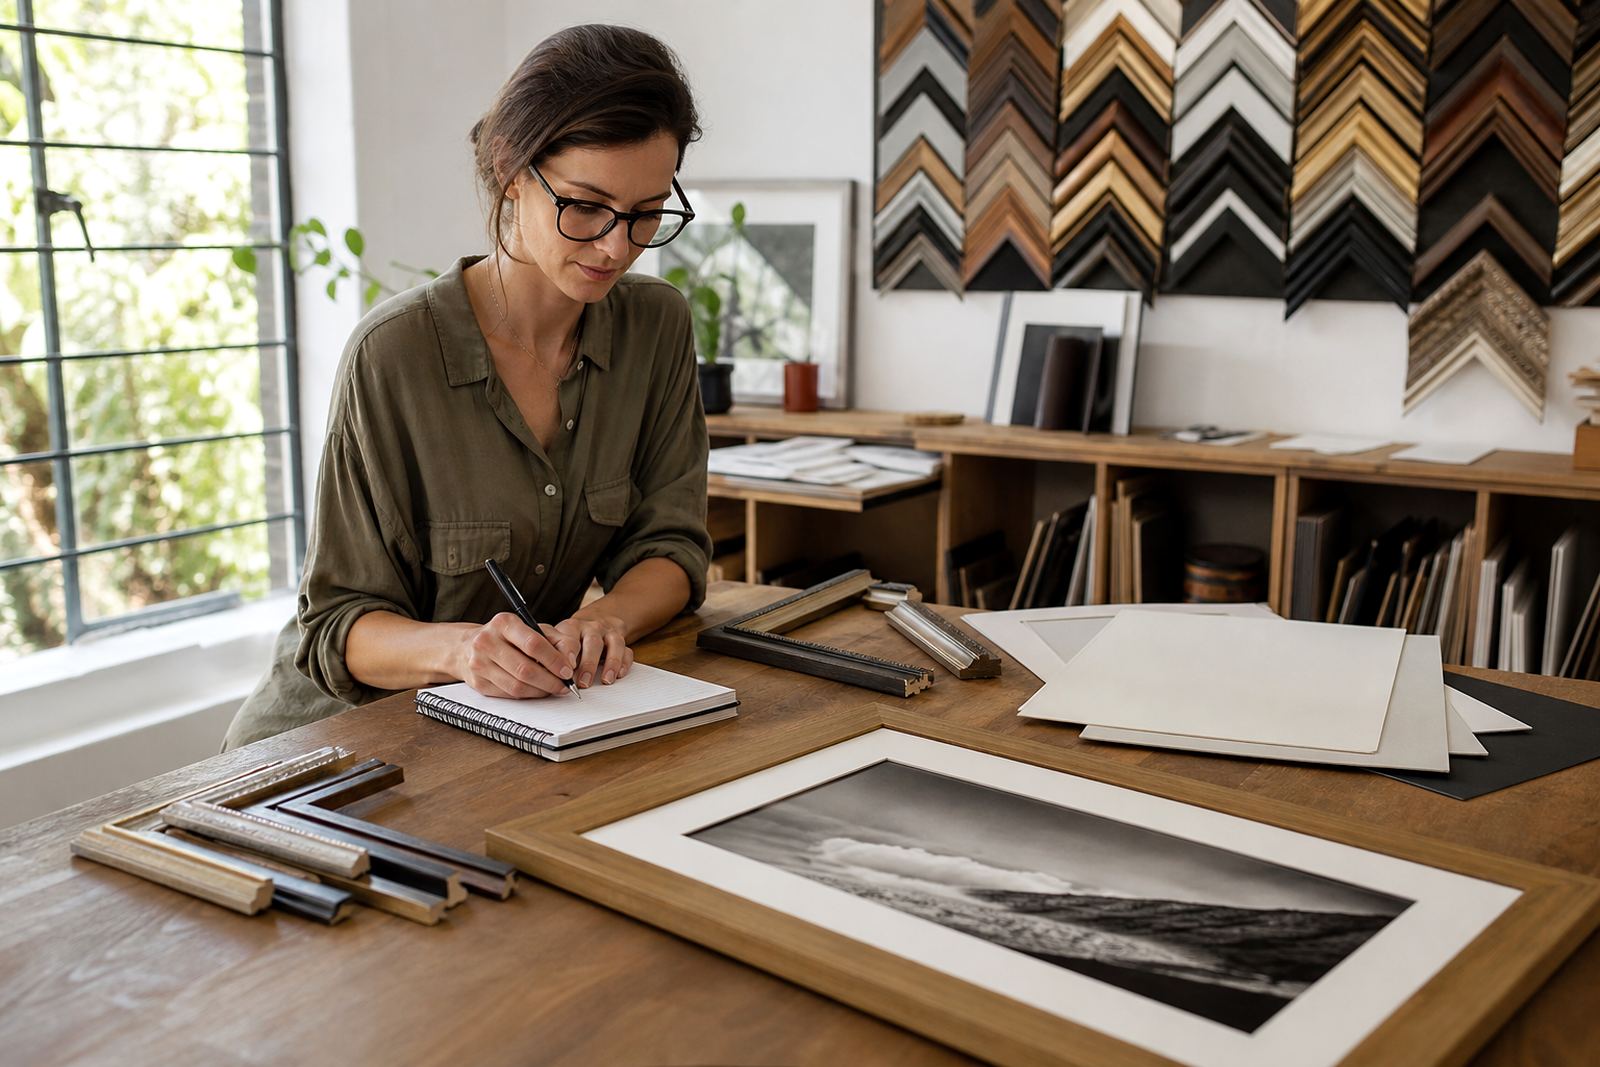
A good measurement note should be clear enough that anyone can read it later. Write the artwork title if it has one, then the visible size, then any border or mount allowance. Add whether the size is for the image only, the full sheet, or the canvas edge. If the piece is being sent to a studio in Parkhurst, Pretoria, Midrand, Sandton or Rosebank, clear notes help keep the process quick and accurate.
It also helps to record how you want the frame to sit on the wall. A portrait orientation may look better with different border proportions than a landscape piece. If the artwork is part of a series or gallery wall, measure all pieces together so the spacing stays consistent. Keep the note with the artwork so it is easy to check again before collection or delivery.
- Write the size in millimetres.
- State whether the measurement is visible area, full sheet or canvas size.
- Add border allowances and orientation.
- Keep the note with the artwork for later reference.
Double-check before ordering the frame
Before you place the order, check for corners that are curled, paper that has expanded after humidity, or old mounting tape that may change the true size. In places like Cape Town and Durban, moisture can shift paper slightly, so a piece measured on one day can move by a few millimetres. If the artwork has been rolled or stored in a cupboard for years, let it settle flat first. Never guess the size if the piece is valuable or sentimental.
Use this quick check before you confirm the job:
- Are the width and height written clearly?
- Is the visible area or full sheet specified?
- Have you allowed for mount borders or float spacing?
- Does the artwork need deeper frame space or glazing?
- Have you checked for damage, warping or curved edges?
If you are unsure, bring the artwork in for a proper measure-up and framing advice. A careful check at the start is usually quicker than correcting a frame that is a few millimetres off. That is especially true for gallery pieces, family photographs and custom work that needs to sit neatly on the wall.