
Start With the Wall and the Anchor Piece
Begin by choosing the wall and measuring the full area, including skirting, light switches, plugs and any furniture that will sit below the display. In Johannesburg homes and apartments, a hallway or lounge wall often works best because there is enough sight line to read the whole arrangement at once.
Pick one anchor piece first. This can be the largest artwork, a family photograph, or a framed print with strong colour. Place it slightly above the centre line of the wall, then build the rest around it. If the wall sits above a couch, sideboard or console, leave enough breathing room so the lowest frame does not feel cramped. A practical rule is to keep the lowest frame around 15 to 20 cm above the furniture.
- Measure wall width and height in metres or centimetres
- Mark the furniture line if the wall sits above a couch or cabinet
- Choose one anchor piece before planning the rest
- Check for switches, sockets and doors that can affect the layout
Choose a Layout That Fits the Room
Gallery walls work well in a few common patterns. A balanced grid suits formal rooms and collections with similar frame sizes. A salon style layout feels more relaxed and suits mixed artwork, photos and mirrors. A line-up arrangement works well in passages or narrow spaces where the eye moves from left to right.
Do not try to fill every gap with something. Empty space is part of the design and helps the wall feel calm instead of crowded. If the room already has busy wallpaper, patterned tiles or strong décor, keep the frame range simpler. In a minimal room you can be bolder with mixed sizes and finishes. The aim is to create a clear visual centre, not a cluttered cluster.
- Grid layout for similar sizes and formal rooms
- Salon layout for mixed pieces and a more collected look
- Linear layout for passages, stairways and narrow walls
- Asymmetrical layout for a modern home or studio space
Map the Spacing Before You Hang Anything
Lay everything out on the floor first. Move pieces around until the spacing feels even and the group holds together as one composition. A good starting gap between frames is 5 to 8 cm, though larger frames may need a little more room. If you are using a very large wall, increase the gaps slightly so the layout does not look too tight.
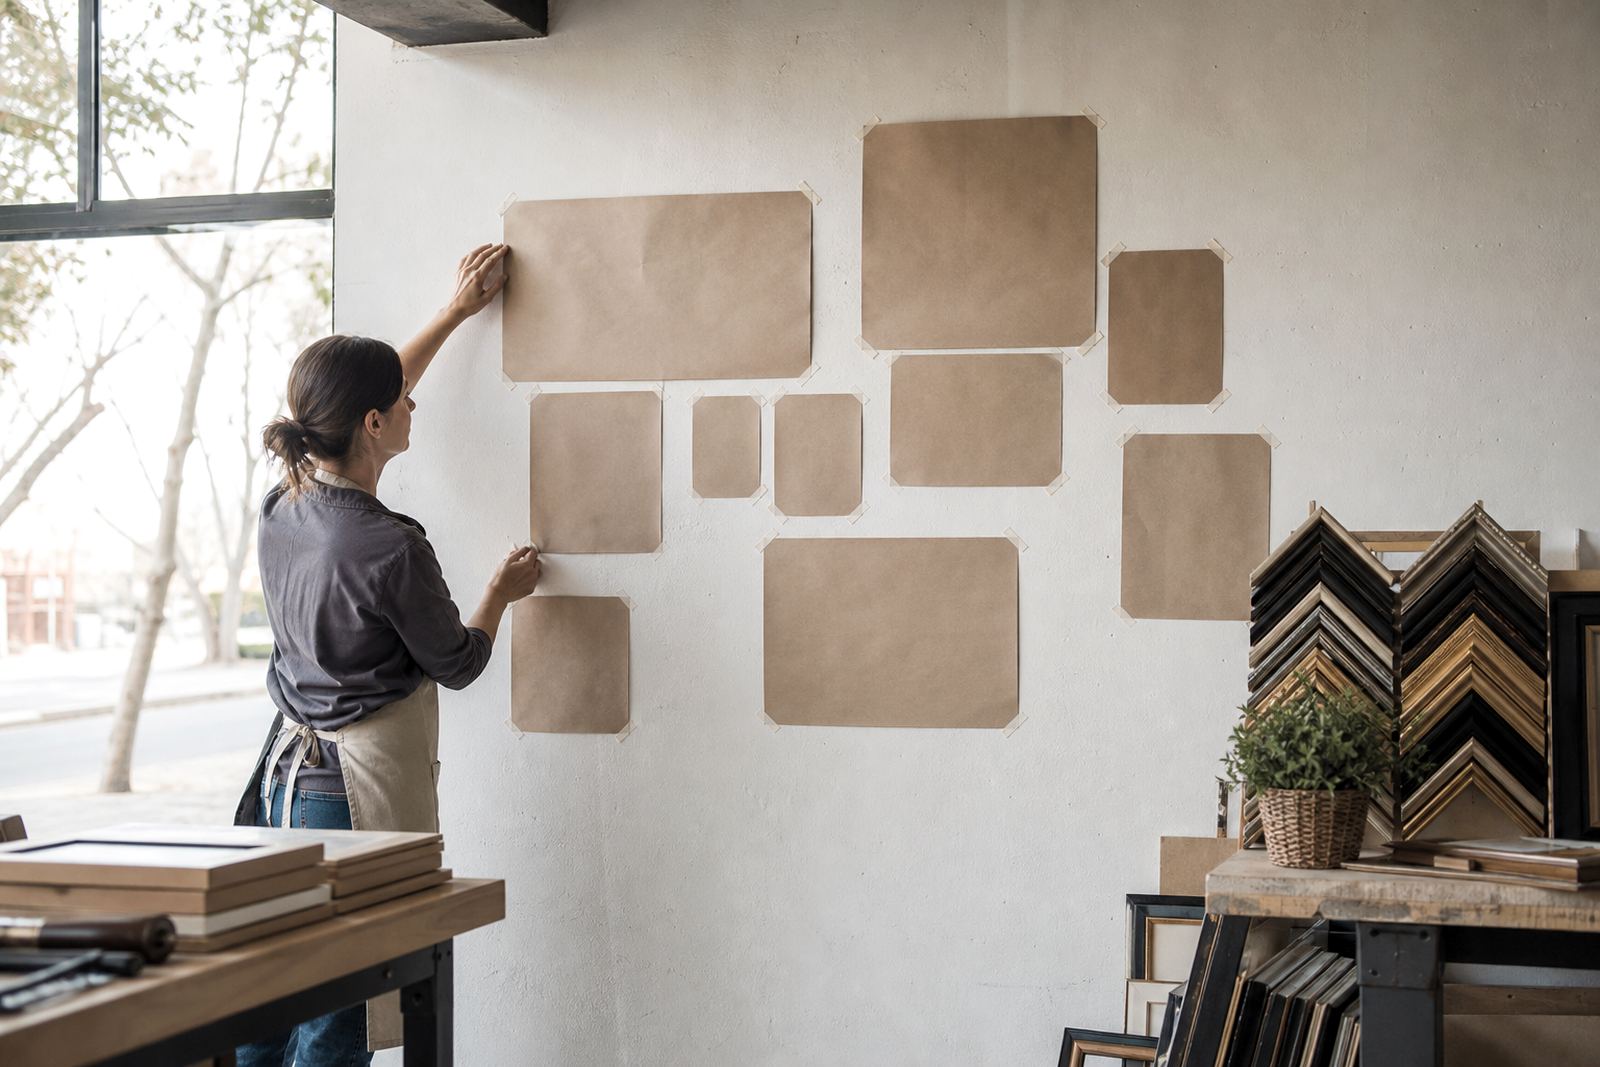
Use kraft paper or newspaper cut to the size of each frame and tape the shapes to the wall. This is the easiest way to test balance before making holes. Stand back from the room entrance and look at the wall from different angles. If one side feels heavier, move a smaller piece or a bright print to the other side to steady the arrangement.
- Place paper templates on the wall before drilling
- Check spacing from the floor, ceiling and side walls
- Look at the layout from the doorway and from sitting height
- Adjust until the centre feels balanced, not too high or low
Mix Frames, Mounts and Materials Properly
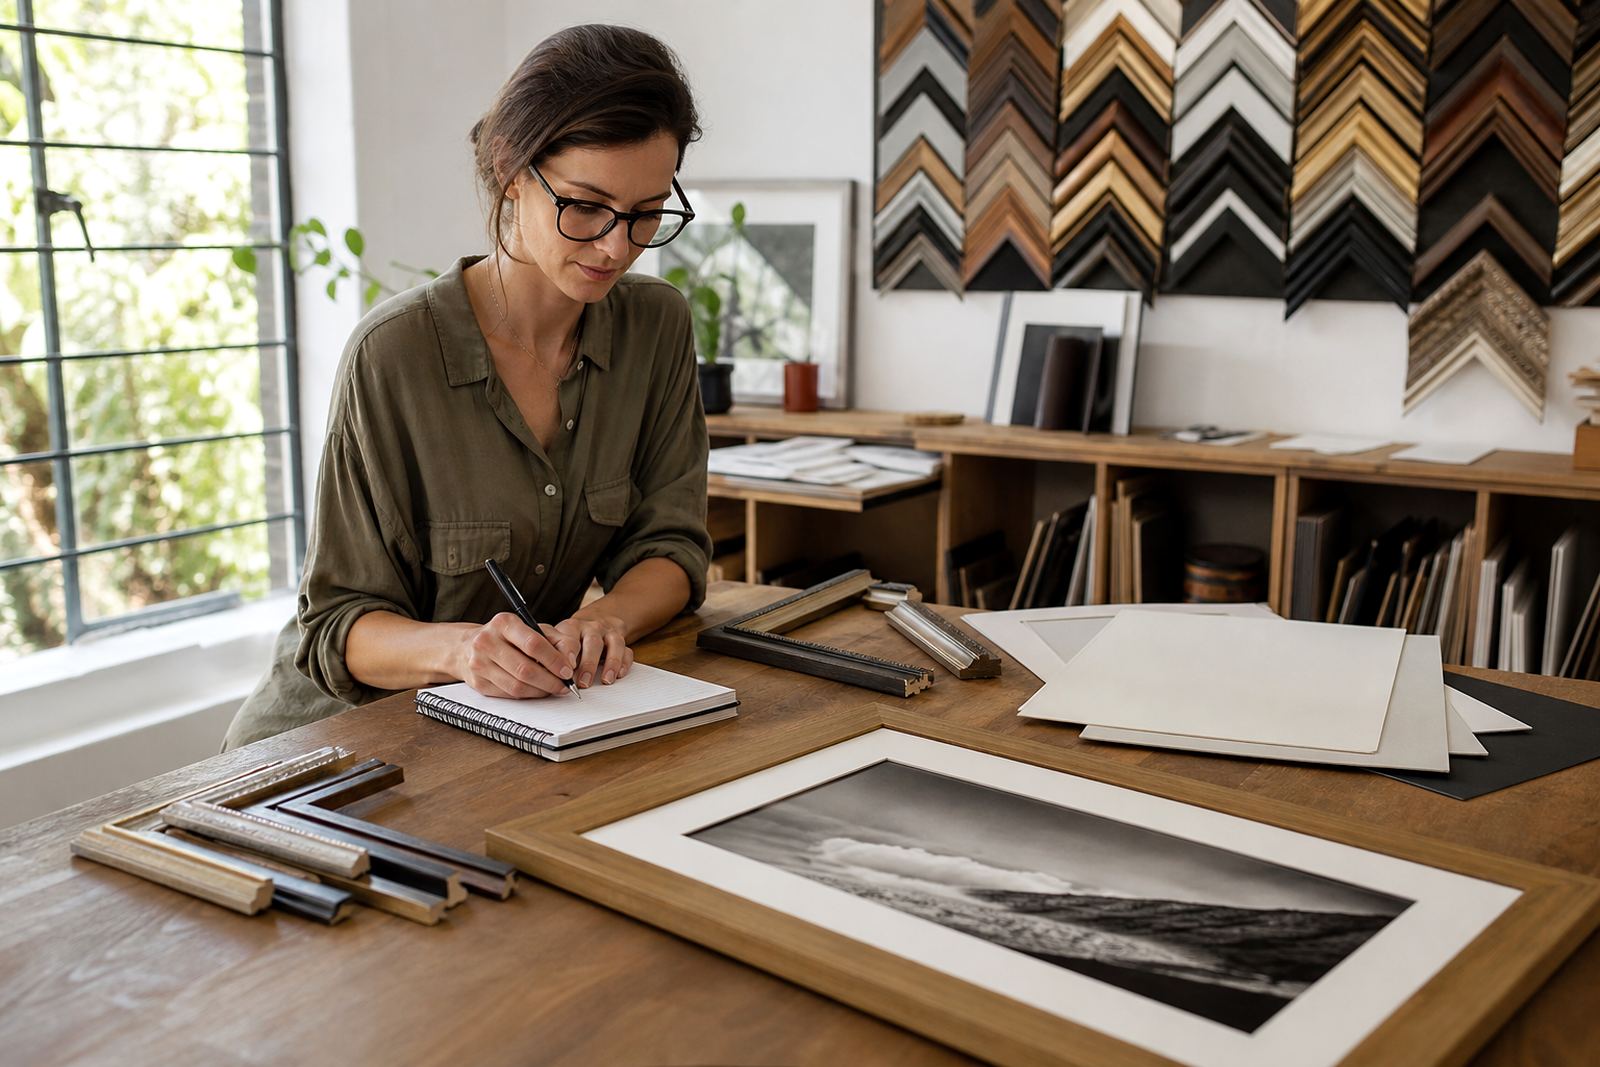
Frame choice can make or break the wall. Matching frames create a neat rhythm, while a mix of timber, black, white and metallic finishes can give the display more character. Keep the mix controlled. If there are too many frame colours, the eye loses the thread. A strong mount can help smaller photographs hold their own beside larger art.
For artworks on paper, use good quality mounts with clean cutting and enough border around the image. For canvases, consider stretching and framing options that protect the edge while still keeping the work easy to hang. In coastal areas like Durban, it is worth thinking about moisture and choosing materials that cope better with humidity. For mirrors, choose safer hanging hardware and a frame style that suits the size of the room.
- Use matching frames for a formal gallery feel
- Mix finishes carefully for a collected look
- Use mounts to give smaller pieces more presence
- Choose materials suited to humidity and direct sun
Hang It Straight and Keep It Safe
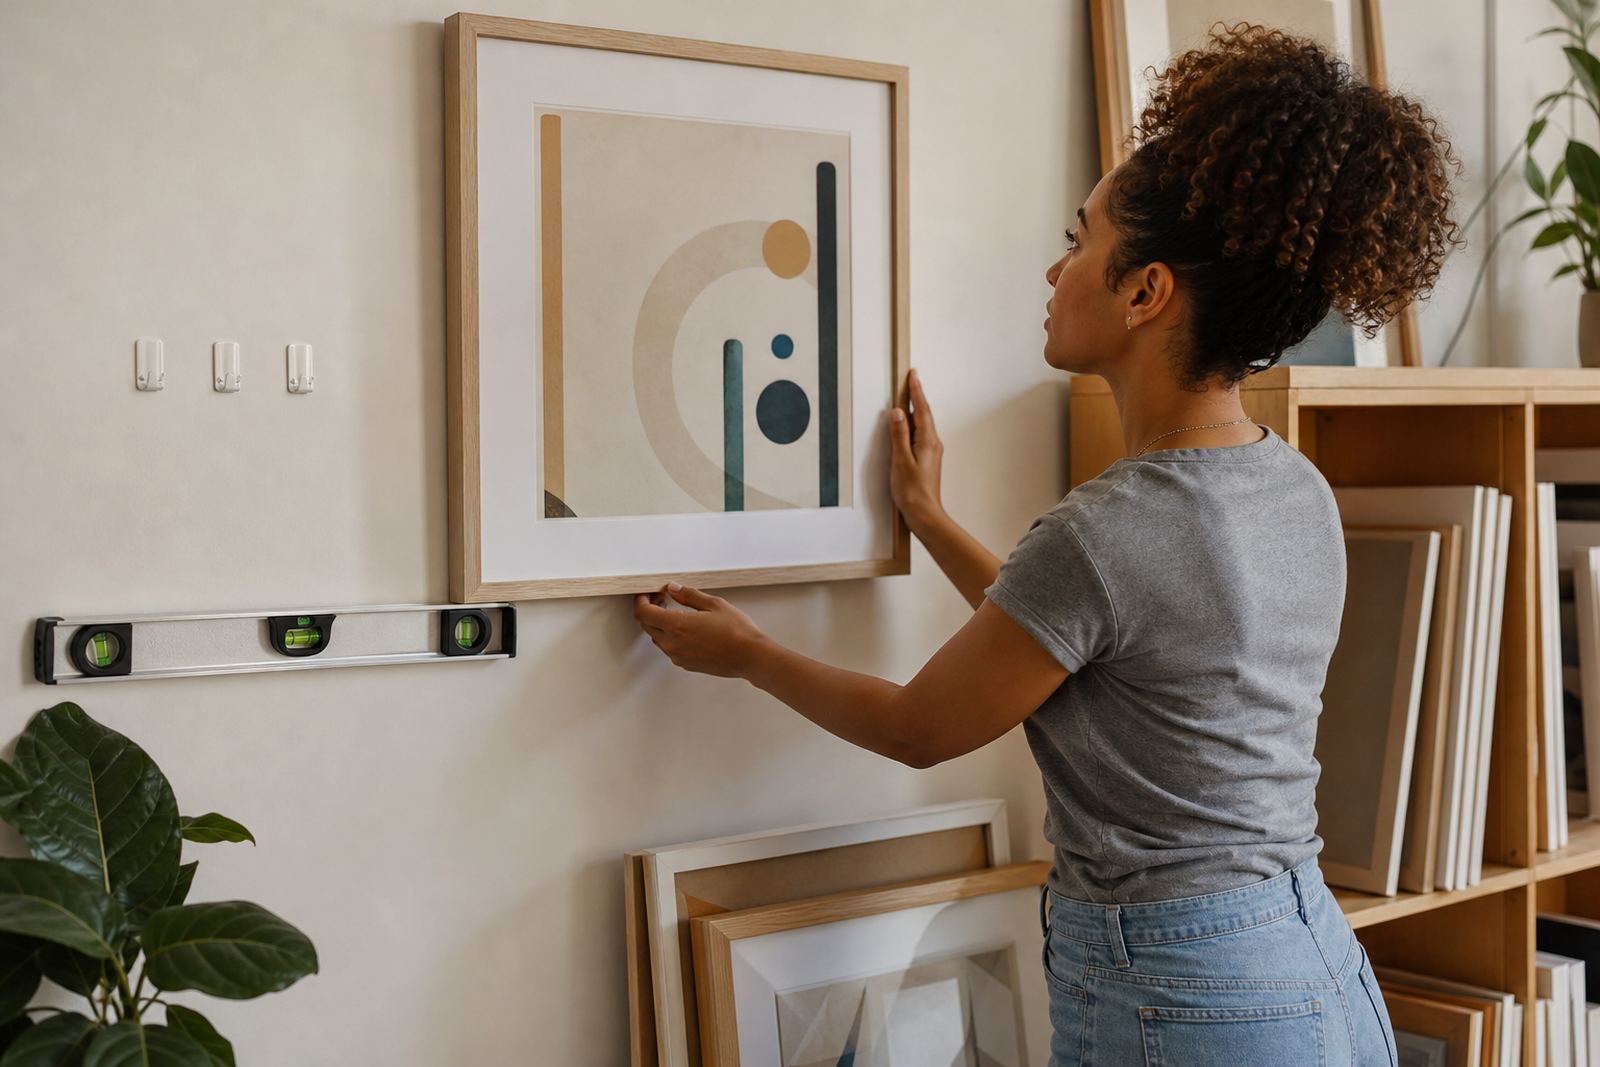
Once the plan is final, start with the anchor piece and work outward. Use a level, a measuring tape and the right hangers for the wall type. Drywall, brick and concrete all need different fixings, and on older Johannesburg properties the wall surface can change from one room to the next. Do not assume one hook will suit every wall.
For family homes, make sure the wall is safe for children and pets. In offices and galleries, keep the display high enough for easy viewing but low enough for comfortable eye level. If the wall carries heavy mirrors or large framed works, ask for proper installation support. It is worth taking the extra time now rather than dealing with a cracked frame or a mark on the wall later.
- Use the correct fixings for brick, concrete or plasterboard
- Start with the centre piece then work outwards
- Check every frame with a level before final tightening
- Keep heavy pieces secure for homes, offices and public spaces
A Simple Checklist Before You Finish
Before you call the wall done, step back and check the full balance. The spacing should feel even, the artwork should sit at a comfortable height and the overall mix should feel intentional. If one frame looks out of place, change it. Small edits can make a big difference.
For homes across Johannesburg, Pretoria, Midrand, Sandton, Rosebank, Cape Town and Durban, we often see people rush the final stage and then live with a wall that never quite feels right. A good gallery wall should work with the room, not fight it. If you need help with custom framing, reframing, glass replacement, mount cutting or collection and delivery, Bright Frames can guide you through the choices and help you get the finish right the first time.
- Check spacing one last time from across the room
- Confirm that the visual centre is easy to read
- Make sure the bottom line is level
- Keep spare hooks, nails and cleaning cloths nearby for touch ups